English
 中文简体
中文简体
 русский
Identifying and replacing a worn or damaged 3/8'' LP (Low Profile) saw chain is crucial for maintaining the efficiency, performance, and safety of your chainsaw. Here's a comprehensive guide on how to identify and replace a worn or damaged saw chain:
Start by conducting a visual inspection of the saw chain. Look for signs of wear, such as worn cutting teeth, damaged or missing segments, stretching, and guide bar wear. Worn or damaged components can affect the performance and safety of the chainsaw and should be addressed promptly.
Inspect the tension of the saw chain using a tensioning tool or the built-in tensioning mechanism on your chainsaw. Proper chain tension is essential for safe and efficient operation. Adjust the tension as needed to ensure proper fit and alignment on the guide bar.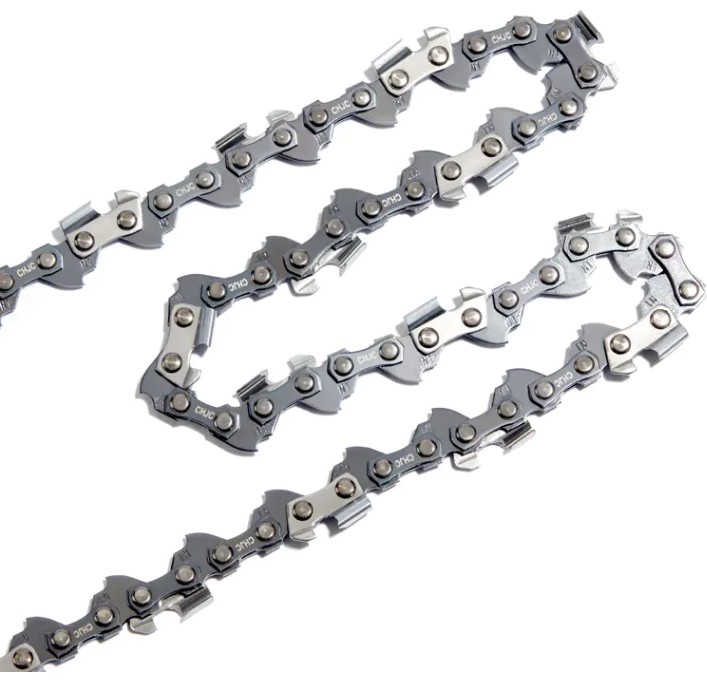
Examine the drive links of the saw chain for wear or damage. Drive links that are worn, bent, or damaged can affect the operation of the chainsaw and should be replaced if necessary.
Measure the gauge of the saw chain using a caliper or gauge tool. The gauge refers to the thickness of the drive links. Ensure that the replacement chain has the same gauge as the original chain to ensure proper fit and compatibility with the guide bar and sprocket.
Choose a suitable replacement chain that matches the specifications of the original chain, including pitch, gauge, and length. Compatibility is essential to ensure proper fit and performance.
To replace the saw chain, release the tension on the old chain by loosening the tensioning screw or knob on the chainsaw. Remove the old chain from the guide bar and sprocket.
Install the new chain onto the guide bar, ensuring that the cutting teeth are facing forward and the drive links engage with the sprocket. Adjust the tension of the new chain using the tensioning tool or mechanism on the chainsaw.
Once the chain is properly tensioned, tighten the tensioning screw or knob to secure the chain in place. Rotate the chain manually to ensure smooth operation and proper alignment on the guide bar.
Test the chainsaw to verify that the new chain operates smoothly and efficiently. Regular maintenance and replacement of the saw chain are essential for maintaining optimal performance and prolonging the lifespan of your chainsaw.
By following these steps, you can effectively identify and replace a worn or damaged 3/8'' LP saw chain, ensuring safe and efficient operation of your chainsaw for years to come.