English
 中文简体
中文简体
 русский

Content
The chain goes slack in the middle of a cut, and after you tighten it twice in one afternoon you know something is wrong. You pull the guide bar off to inspect it and find that the stamped numbers near the tail have worn away. Replacing a chainsaw bar and chain without exact measurements is a guessing game with real consequences: a chain with the wrong gauge binds in the groove, a mismatched pitch skips on the sprocket, and the wrong drive link count makes tensioning impossible. Measuring a chainsaw bar and chain takes about five minutes and requires no more than a tape measure and maybe a caliper. Once you know three numbers — bar length, chain pitch, and drive link gauge — every replacement decision becomes much simpler.
What You Need Before You Start
Set up before you measure so you don't end up holding a chain with one hand and a tape measure in the other while balancing the saw on your knee:
- A metal tape measure or ruler accurate to 1/16 inch or 1 millimetre
- A caliper for gauge checks if available (not essential)
- A flat work bench large enough to lay the bar flat
- The bar removed from the chainsaw, or the saw laid on its side
- The old chain, still intact if possible
Before measuring anything, look at the tail of the bar. Most manufacturers stamp the pitch, gauge, and drive link count onto the tail that sits inside the saw body. A marking like "3/8 LP × 0.050 × 56" already answers most of your questions. If the marking is faded, the measuring steps below give you the same numbers from scratch.
How to Measure a Chainsaw Bar
A chainsaw bar has a total physical length and an effective cutting length. Stores sell bars by the effective cutting length — the distance from the tip to the point where the bar exits the chainsaw body. This is also the number stamped on the bar, rounded to the nearest even figure.
- Lay the bar flat with the tip pointing away from you.
- Place the end of the tape measure at the tip of the bar.
- Pull it toward the tail section and read the distance where the bar enters the saw body.
- Round to the nearest even number: 17.5 inches becomes 18 inches.
- Verify with the stamped length near the bar tail if it is still legible.
The second bar measurement is the groove gauge — the width of the slot that guides the chain around the bar. Use a caliper to measure the groove directly, or compare the old chain's drive link thickness with a known gauge. Groove and chain gauge must match exactly.
| Groove Gauge | Metric Equivalent | Typical Saw Class |
|---|---|---|
| 0.043" | 1.1 mm | Small electric and low-profile chains |
| 0.050" | 1.3 mm | Homeowner and farm saws |
| 0.058" | 1.5 mm | Professional mid-size saws |
| 0.063" | 1.6 mm | Large professional and logging saws |
How to Measure a Chainsaw Chain
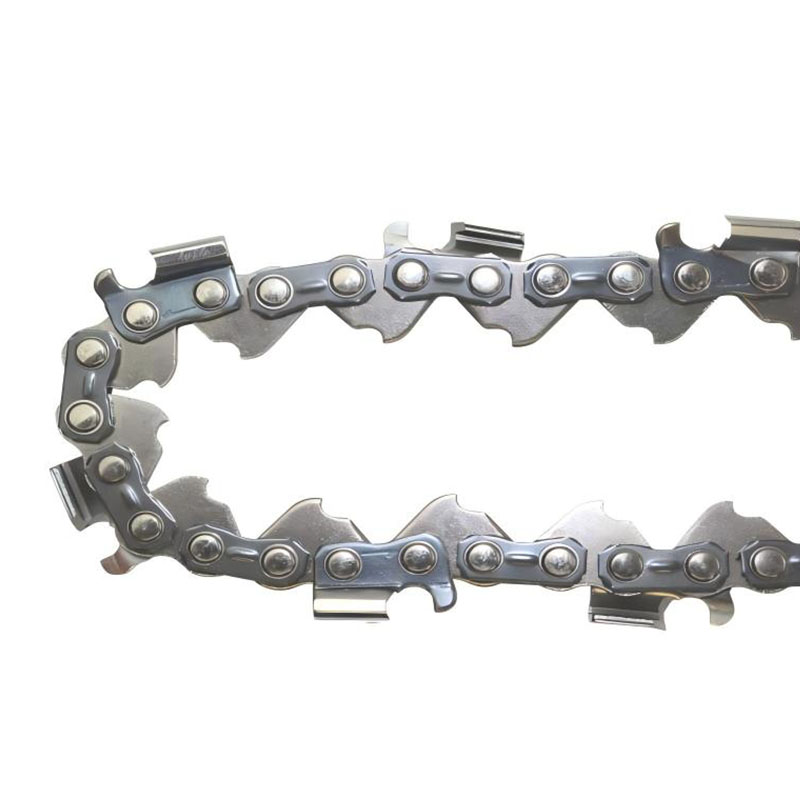
A replacement chain is defined by three numbers: pitch, gauge, and drive link count. Change any one of them and the chain will not work with your bar, no matter how similar it looks on the shelf.
Chain Pitch
Pitch is the distance between the centres of two consecutive rivets on the drive-link row. It is too small to measure reliably between just two rivets, so use the three-rivet method:
- Lay the chain flat and locate three consecutive rivets along the drive-link row.
- Measure from the centre of the first rivet to the centre of the third rivet.
- Divide that spacing by 2. The result is the pitch.
Three rivets spanning 0.65 inch divided by 2 equals 0.325 inch — that is a .325" pitch chain. A span of 0.75 inch divided by 2 equals 0.375 inch, or 3/8" pitch. On small homeowner saws, that 3/8" pitch is almost always a low-profile variant with a thinner cutter, sold separately from standard 3/8" chain.
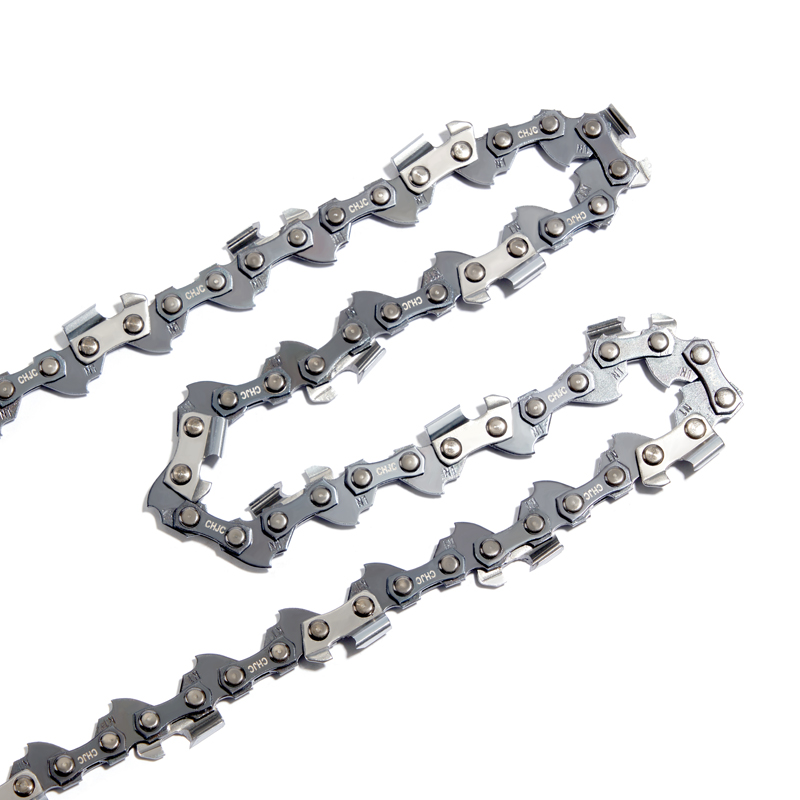
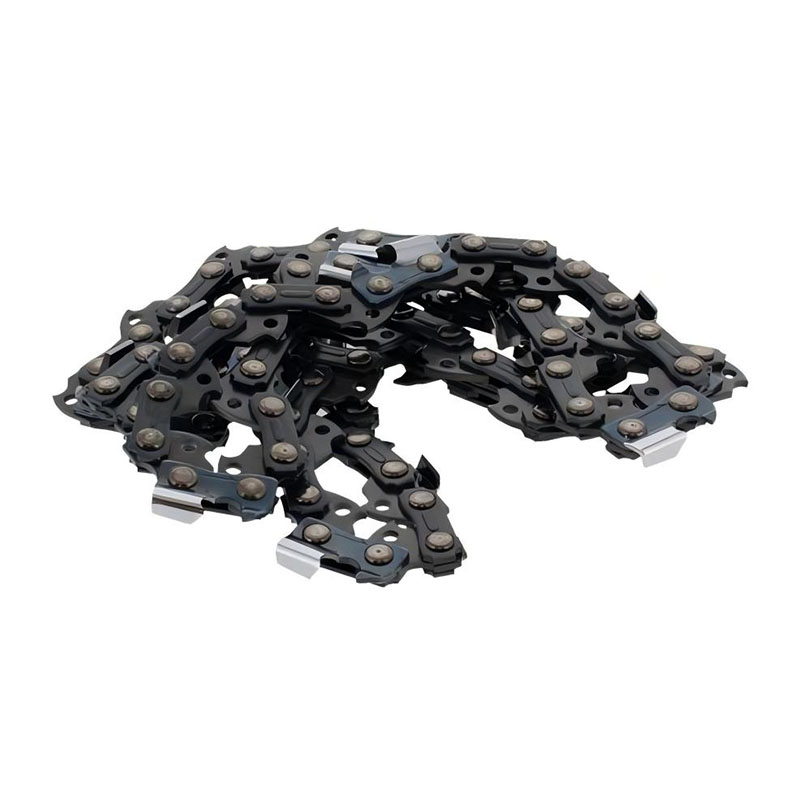
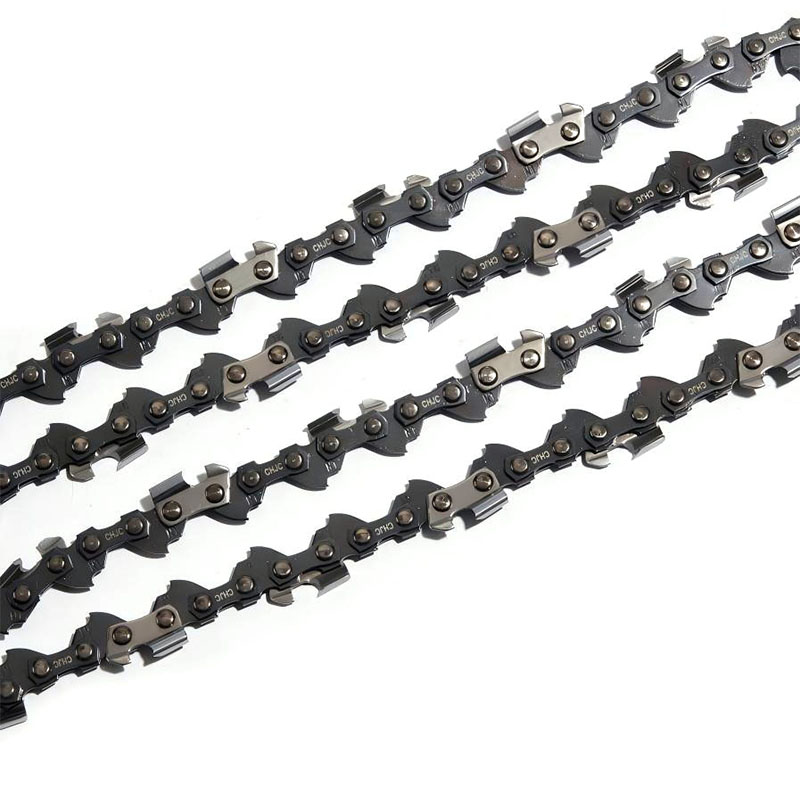
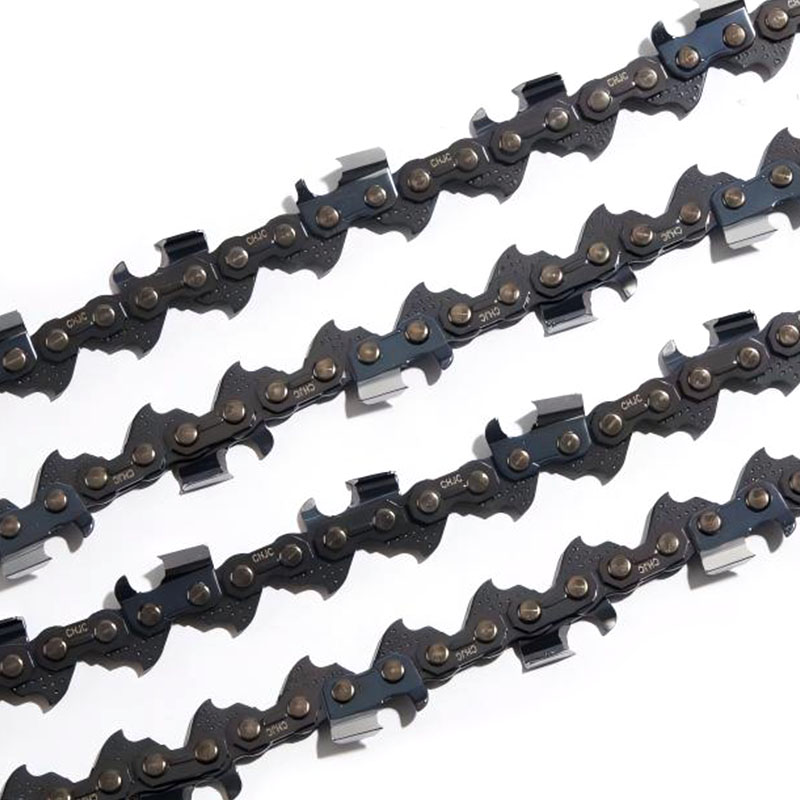
 3/8 Inch Low-Profile 0.050 Gauge Saw Chain for Homeowner SawsThis low-profile chain suits lightweight and electric chainsaws for trimming and firewood cutting. Its thinner cutter and 0.050 gauge reduce vibration, making it a practical choice for novice users on small homeowner bars.View Product →
Chain Gauge
Chain gauge is the thickness of the drive link tab that rides in the bar groove. Measure one drive link at its widest point with a caliper and compare it with the groove measurement from the bar. A 0.058" drive link forced into a 0.050" groove generates friction and heat; a loose 0.050" link in a 0.063" groove rattles, wears the groove walls, and cuts poorly.
Drive Link Count
Drive links are the tabs that grip the sprocket and slide along the groove. Count every tab around the full loop, not just the cutters. Chain boxes identify this as "56 DL", "64 DL", "72 DL", and so on. Bars with the same effective length can require different drive link counts if their nose radius differs, so always count rather than estimate.
| Pitch | 3-Rivet Span | Common Gauges | Typical Application |
|---|---|---|---|
| 1/4" | 0.50" | 0.043" | Arborist and mini chainsaws |
| 3/8" LP | 0.75" | 0.043", 0.050" | Homeowner and light duty |
| .325" | 0.65" | 0.050", 0.058", 0.063" | Farm, ranch, mid-professional |
| 3/8" | 0.75" | 0.050", 0.058", 0.063" | Professional cutting |
| .404" | 0.808" | 0.063", 0.080" | Heavy logging, harvester heads |
Matching Bar and Chain to Your Chainsaw
The three numbers work as a set. A mid-size professional saw running .325" pitch, for example, can switch between a 16-inch and an 18-inch bar, but the drive link count changes with bar length while pitch and gauge stay the same. If you buy a chain with the correct pitch and gauge but one extra drive link, the tensioner will bottom out; one link fewer and the chain cannot reach the bar nose properly.
As a saw chain factory, we see the same mistakes repeatedly: chains bought for the saw model rather than the bar, and chains chosen by eye instead of stamped numbers. Measure first, then match all three values. A full-chisel .325" profile is a common upgrade for farm and professional saws because it cuts aggressively and holds an edge well in clean timber.
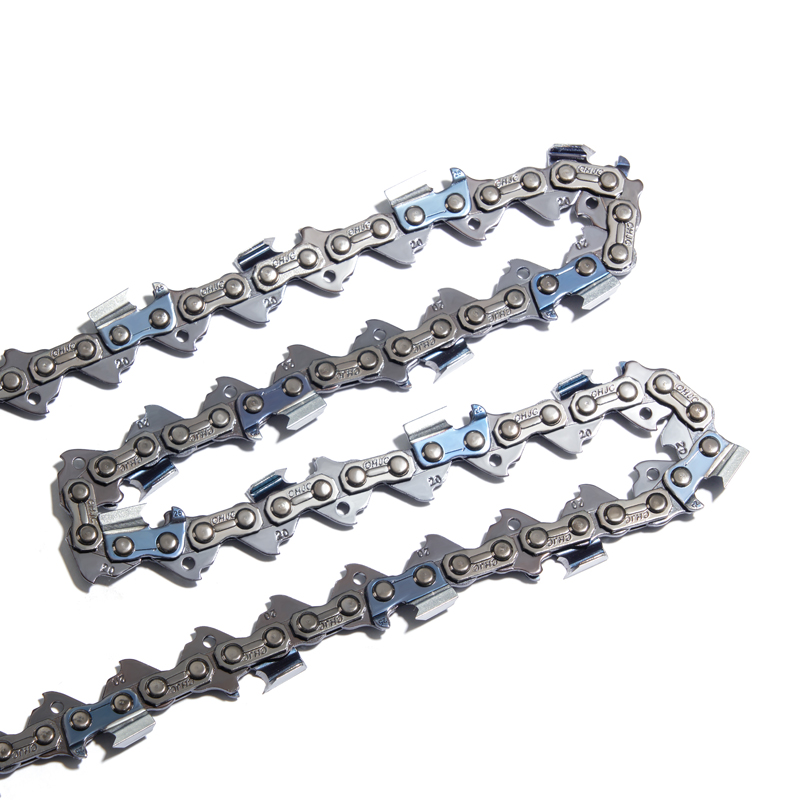
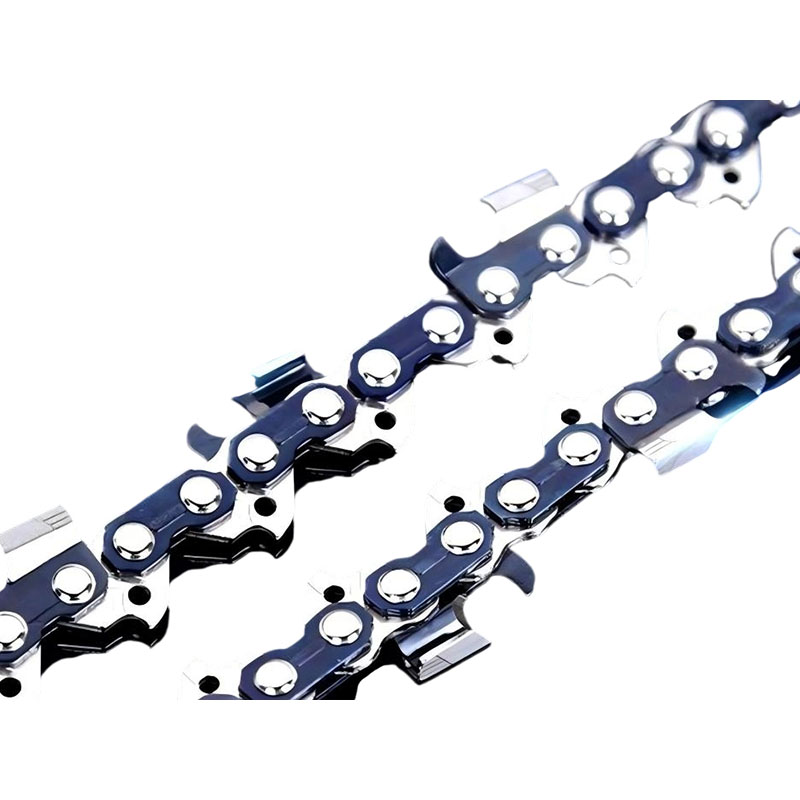
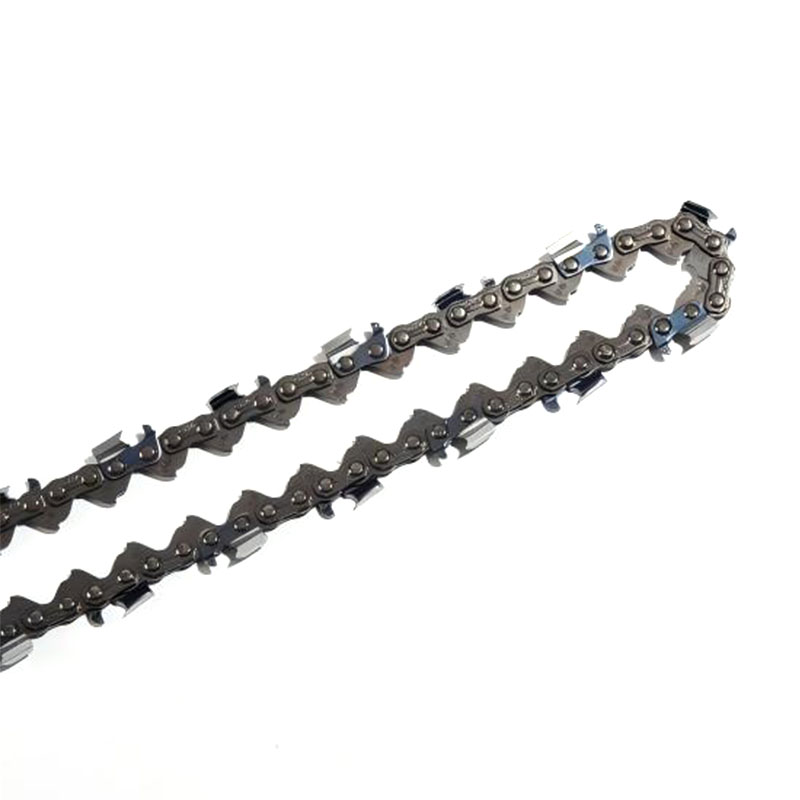
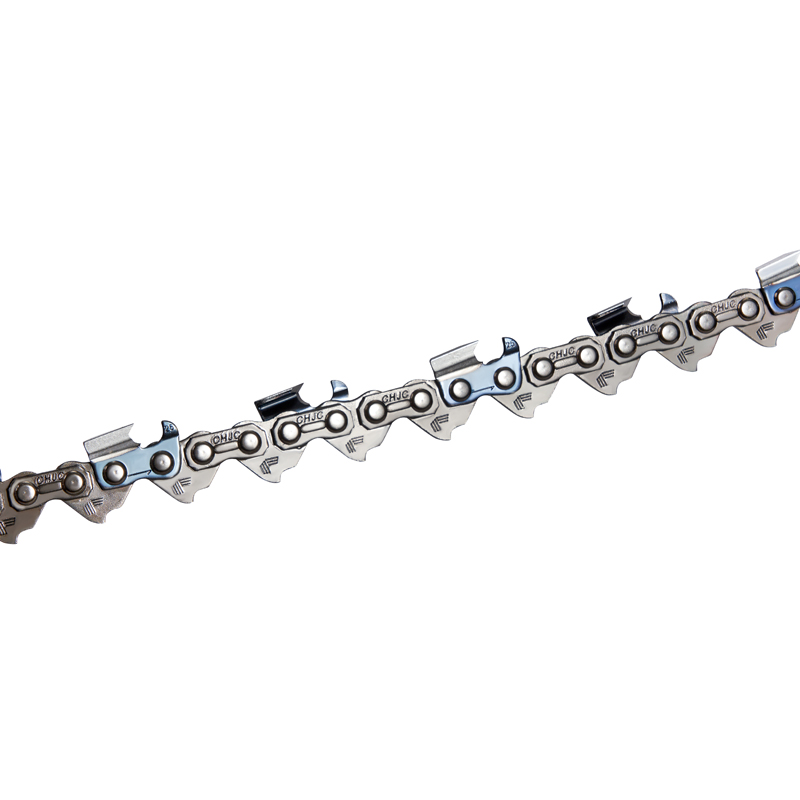 .325 Inch 0.050 Gauge Saw Chain for Farm and Professional UseA common upgrade for farm and pro saws, this chain pairs .325 pitch with a 0.050 gauge. Full-chisel options cut aggressively in clean timber, while the blued cutters improve corrosion resistance and edge retention.View Product →
Practical Tips for a Smooth Replacement
- Read the stampings first. The bar tail and the old chain box give you two of the three numbers before you even reach for a tape measure.
- Match the sharpening file to the pitch. Each pitch takes a specific file diameter; the wrong file dulls cutters faster than normal use.
- Inspect the nose sprocket and drive sprocket. A worn sprocket will stretch or damage a new chain within hours.
- Replace bar and chain as a pair when possible. A new chain on a worn bar with a widened groove skips under load, even if all measurements are correct.
- For heavy-duty mechanical heads — harvesters, feller bunchers, and high-powered logging saws — use a chain designed for sustained load, such as a .404" chain with 0.080" gauge for continuous work.
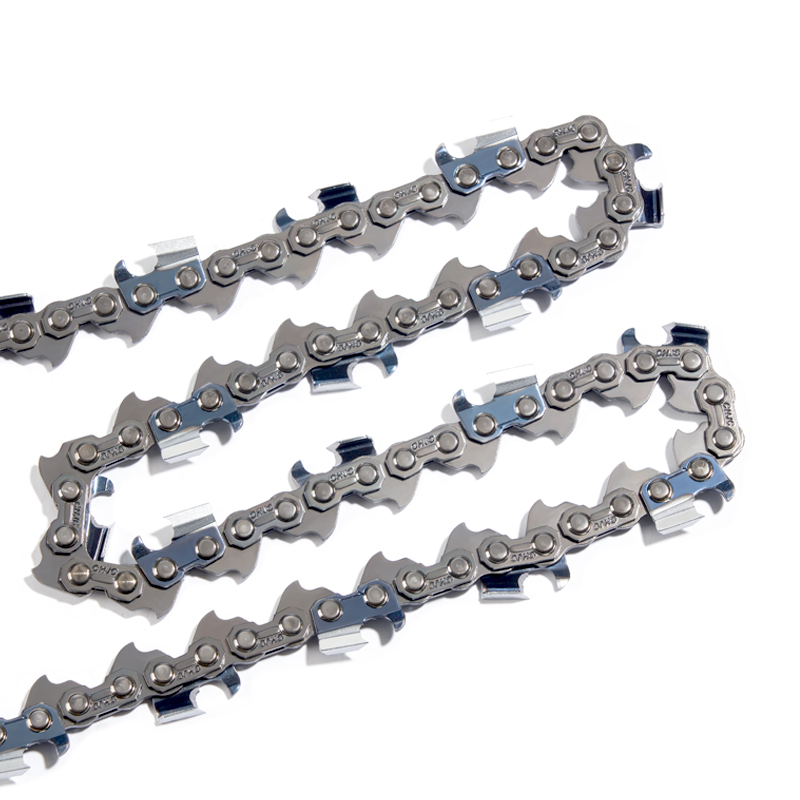
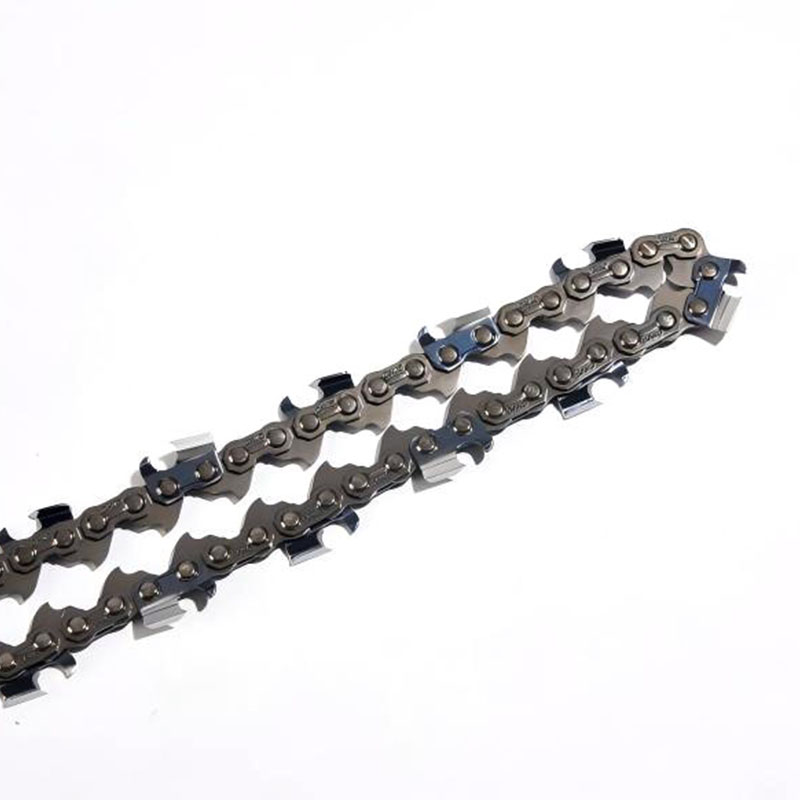
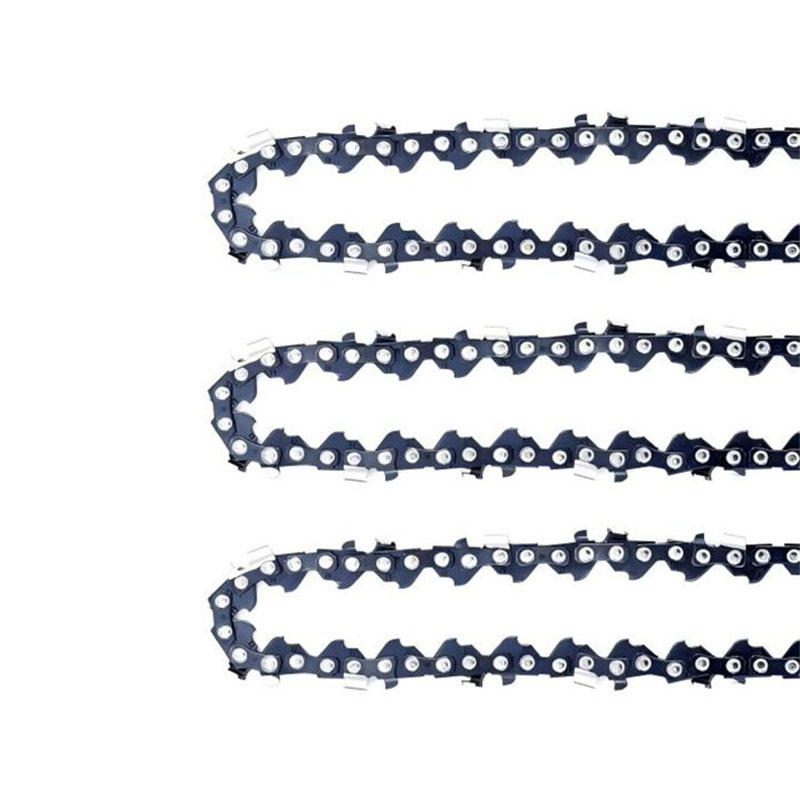
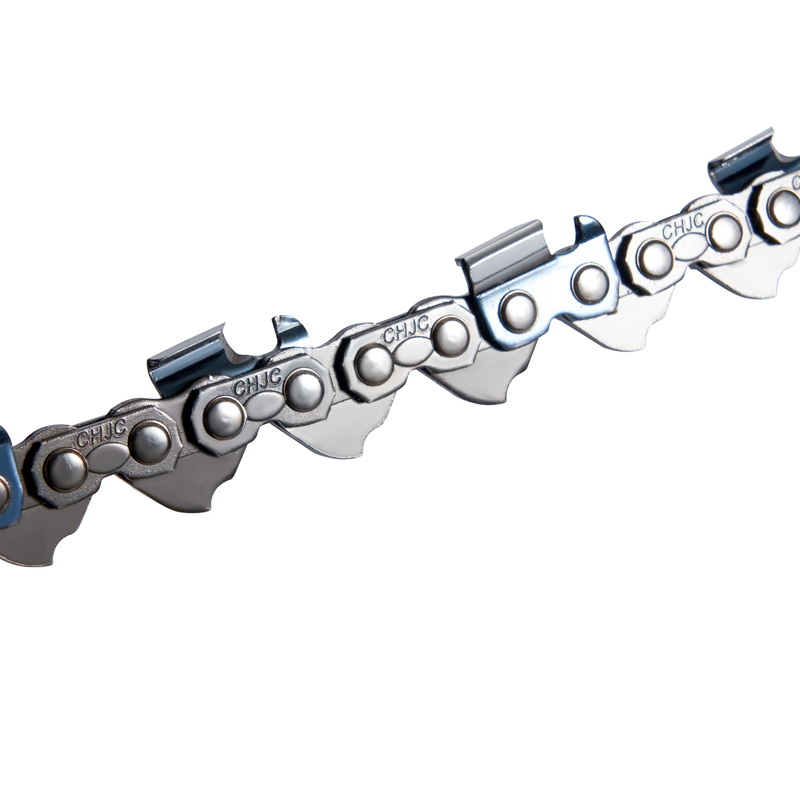 .404 Inch 0.080 Gauge Harvester Chain for Logging MachinesBuilt with thicker tie straps and stronger rivets, this harvester chain withstands high-stress mechanical logging. It minimizes chain stretch and downtime, suited for continuous felling and processing in demanding conditions.View Product →
Once you know how to choose the right low-profile saw chain for a homeowner saw, the same three-number logic applies to every other class. And when a new chain still skips or cuts crooked after a correct installation, the fault usually lies elsewhere: bar rails out of true, a stretched chain from previous over-tightening, or a worn sprocket. Re-measure, re-mount, and test on soft wood before blaming the chain.